When your MacBook starts freezing, shutting down without warning, or failing to charge, figuring out the root cause can be frustrating. You might wonder whether a recent software update triggered a bug or if a physical hardware component inside your computer is failing. Fortunately, you do not need to take your laptop immediately to a repair shop to find out. Apple builds a comprehensive diagnostic suite directly into every Mac system.
Learning how to run Apple Diagnostics on a MacBook allows you to scan vital components—including your battery, power delivery, logic board, memory modules, Wi-Fi card, and cooling fans—in just a few minutes. This guide walks you through when to use the tool, how to prepare your machine, how to trigger the test on both Apple Silicon and Intel-based MacBooks, and how to read the generated reference codes.
When to Run Apple Diagnostics on Your MacBook
Apple Diagnostics is specifically engineered to detect physical component failures rather than operating system glitches. If your MacBook experiences operating system instability, running software maintenance or updating macOS often resolves the problem. However, physical hardware failures require targeted diagnostic checks.
Common Hardware Symptoms and Warning Signs
You should run Apple Diagnostics if you observe any of the following technical symptoms:
- Unexplained Shutdowns: The laptop suddenly powers off during routine tasks even when the battery charge indicates remaining capacity.
- Thermal and Fan Anomalies: The internal fans run at maximum speed continuously, even when no heavy applications are open, or the machine becomes uncomfortably hot to the touch.
- Power and Charging Glitches: The MacBook fails to recognize the power adapter, refuses to charge, or drops power abruptly when unplugged.
- Connectivity Interruptions: Built-in Wi-Fi or Bluetooth hardware randomly disconnects or vanishes entirely from System Settings.
- Peripheral and Audio Malfunctions: Built-in speakers, microphones, trackpads, or keyboards stop responding consistently.
How to Prepare Your MacBook Before Running Diagnostics
Before initiating the diagnostic utility, properly preparing your setup ensures that external accessories do not trigger false positive error codes.
Disconnecting Peripherals and Updating macOS
Follow these essential setup procedures before launching the diagnostic sequence:
- Position the Laptop Correctly: Place your MacBook on a hard, flat, and stable surface with proper ventilation. Avoid running diagnostics on soft surfaces like beds or couches, as blocked vents can trigger false fan or thermal sensor error codes.
- Disconnect All External Accessories: Unplug all external devices including USB flash drives, external hard drives, external monitors, dongles, SD cards, and wired mice or keyboards. Connected peripherals can confuse the test suite.
- Keep the Power Adapter Plugged In: Connect your official Apple power adapter to an active wall outlet and plug it into your MacBook to prevent power loss mid-test.
- Check for macOS Updates: If your Mac boots normally, go to Apple Menu > System Settings > General > Software Update and install any pending system updates before proceeding. Keeping system firmware updated ensures accurate hardware polling.
Step-by-Step: How to Launch Apple Diagnostics
The exact boot sequence required to launch Apple Diagnostics depends on whether your laptop runs on Apple Silicon (M1, M2, M3, or M4 chips) or an older Intel processor.
1. Running Diagnostics on Apple Silicon Macs
If you own an Apple Silicon MacBook Air or MacBook Pro, follow these steps to access the diagnostic utility:
- Shut Down the MacBook: Click the Apple Menu in the top-left corner of your screen and select Shut Down. Wait until the display completely turns off and all indicator lights go dark.
- Access Startup Options: Press and hold the power button (which also serves as the Touch ID sensor) on your keyboard. Continue holding the button down until the screen displays "Loading startup options".
- Trigger Diagnostic Mode: Once the startup options screen showing your internal drive icon and Options appears, press and hold the Command ⌘ + D keys simultaneously on your keyboard.
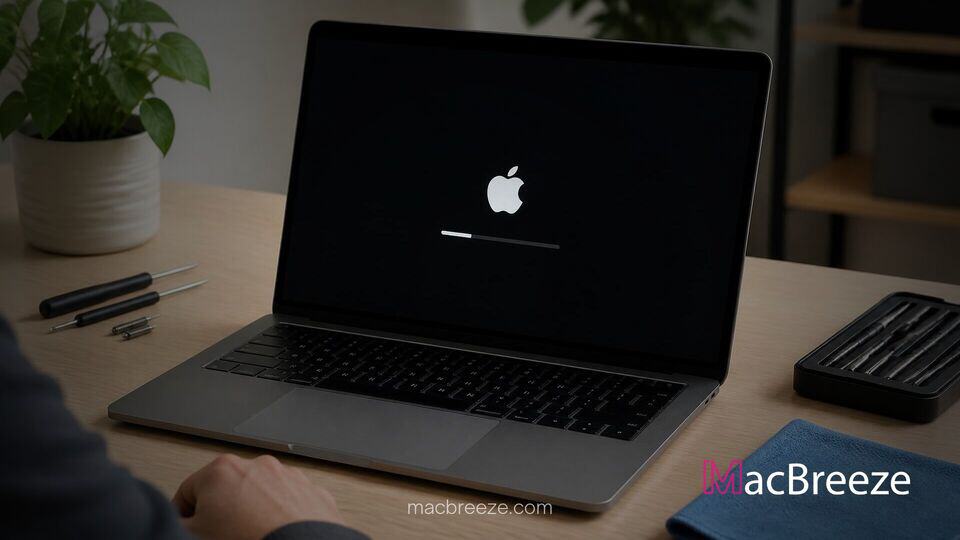
- Initiate the Scan: The laptop will restart and load the Apple Diagnostics interface. Select your preferred language and network connection if prompted. The hardware test will start automatically.
2. Running Diagnostics on Intel-Based MacBooks
If you are using a legacy Intel-based MacBook—including older machines that Apple classifies as vintage or obsolete—use the traditional key combination at startup:
- Shut Down the MacBook: Open the Apple Menu and click Shut Down. Allow the computer to shut off entirely.
- Power On and Hold Key: Press the power button once to turn on the laptop, then immediately press and hold the D key on your keyboard.
- Alternative Network Diagnostics: If holding D does not start the test, turn off the Mac, power it on again, and immediately press and hold Option + D (⌥ + D). This forces the laptop to run Apple Diagnostics over an active internet connection.
- Release the Key: Keep holding the key until a screen appears asking you to select a language or choose a Wi-Fi network. Release the key and follow the on-screen prompts to begin testing.
Understanding Apple Diagnostics Error Codes and Next Steps
Once the diagnostic scan finishes (usually taking between 2 to 5 minutes), Apple Diagnostics displays a summary report containing one or more reference codes.
1. Interpreting Common Reference Codes
Each code corresponds to a specific hardware subsystem. Here are the most common codes generated by the utility:
- ADP000: No issues found. Your MacBook hardware passed all system checks cleanly.
- PPT001 / PPT004 / PPT007: Battery hardware issue detected. The battery may be degraded, failing, or unable to communicate properly with the power management system.
- PFM001–PFM007: System Management Controller (SMC) or hardware management issue detected.
- PFR001: System firmware issue encountered during testing.
- NDC001–NDC006: Camera hardware problem detected on the built-in FaceTime HD or Center Stage camera.
- CNW001–CNW006: Wi-Fi hardware hardware issue detected.
- NDL001: Bluetooth hardware issue detected.
- PPF001–PPF004: Cooling fan issue detected. The fan motor or sensor may be failing or obstructed.
- VDF001: SD card reader hardware issue detected.
2. Contacting Apple Support for Hardware Repairs
If your diagnostic test returns anything other than ADP000, write down the specific reference codes or take a photo of the screen with your phone. These codes directly inform technicians about the component failure.
You can press Command ⌘ + G to start the service process directly from the diagnostic screen if connected to Wi-Fi, or boot into macOS normally and visit Apple's support portal. While upcoming developments like OLED displays on future MacBook Pro models continue to push hardware design forward, existing MacBooks rely on precise internal monitoring to ensure long-term reliability.
Best Practices and Tips After Running Diagnostics
To keep your MacBook running smoothly after executing hardware tests, keep these best practices in mind:
- Rerun the Test Offline: If you suspect a network bug caused a false Wi-Fi error code, disconnect from Wi-Fi and click "Run offline" to run local board tests.
- Distinguish Software from Hardware: If Apple Diagnostics returns code ADP000 but your laptop continues to run slowly or freeze, the issue is software-related. Reinstall macOS via Recovery Mode or check Activity Monitor for unresponsive processes.
- Keep Reference Codes Handy: Always present your specific reference code when submitting an AppleCare ticket or visiting an Authorized Service Provider; it speeds up the repair intake process significantly.
- Restart to Exit: To exit the diagnostic tool, simply click Restart or press R, or click Shut Down / press S to turn off your machine.