If you want to improve your internet experience on Apple's Macbook, iMac, Mac Mini or any other Mac devices, you should know how to change DNS settings. This article explains how to do it.
Generally, your ISP may have its own DNS that is not as good as Google, Cloudflare, or Open DNS. Thus, you may not get the best internet experience. You can try changing your DNS addresses and see which one improves your experience.
How to Change DNS on Mac
There are two ways to change DNS on macOS: manually without software or automatically with software. Here are the instructions for both.
1. Change DNS Manually without any Software
If you want to change the DNS address manually on macOS, you can do it from system settings. Here are the proper instructions.
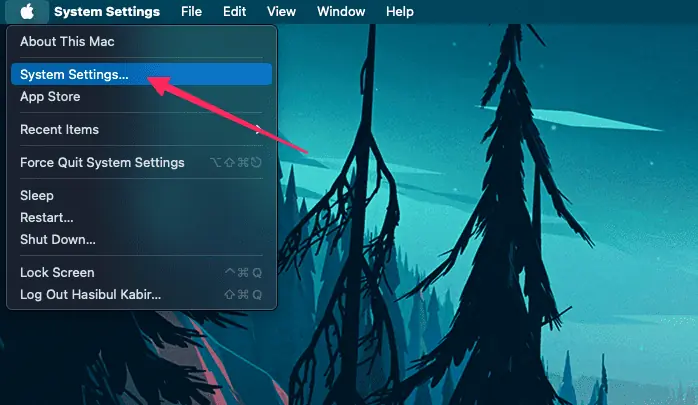
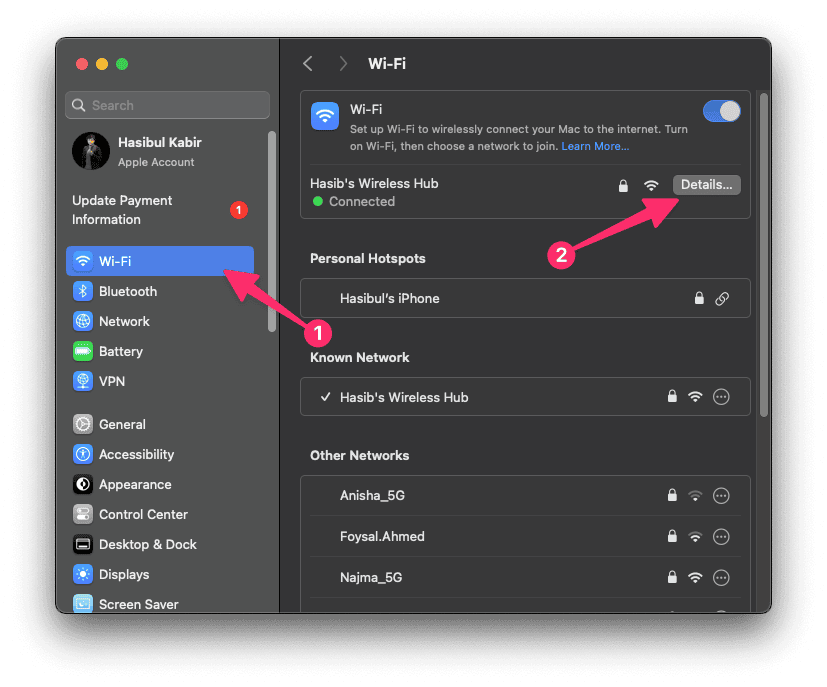
- First of all, go to System Settings, as shown in the screenshot.
- Then, go to Network.
- Next, click on WiFi or Ethernet, depending on the correct network profile you are using.
- Click on Details.
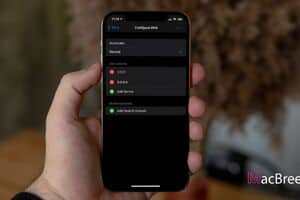
- Then, go to the DNS tab, click on the + button, and add your preferred DNS server address.
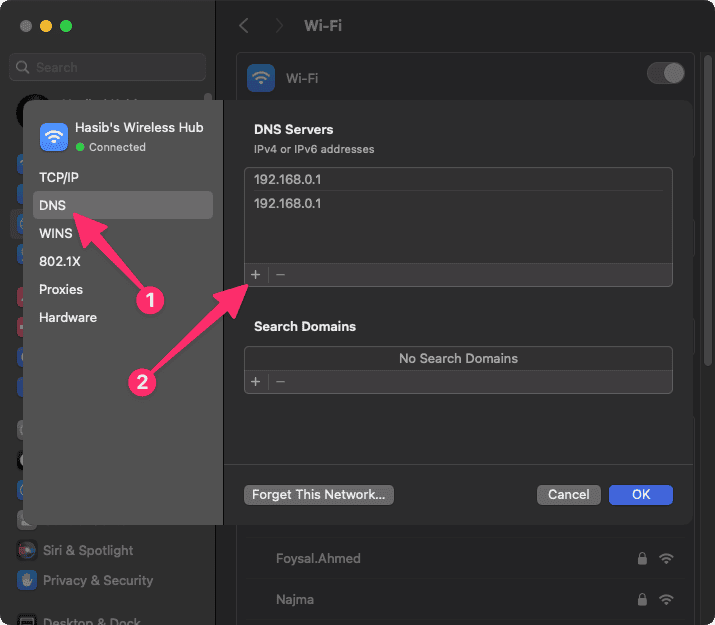
- Click on OK.
In this way, you can change DNS settings on any macOS devices like Macbook, iMac, Mac Pro, Mac Mini, etc. However, you will need to clear the DNS cache after changing the settings. Otherwise, it won't take effect immediately. To learn more, read: How to Flush DNS on macOS
2. Change DNS with Third-Party Software
Though the manual way to change DNS in macOS is very straightforward, some third-party DNS changing software can also be used. Often, these come with additional features that can make certain tasks easier.
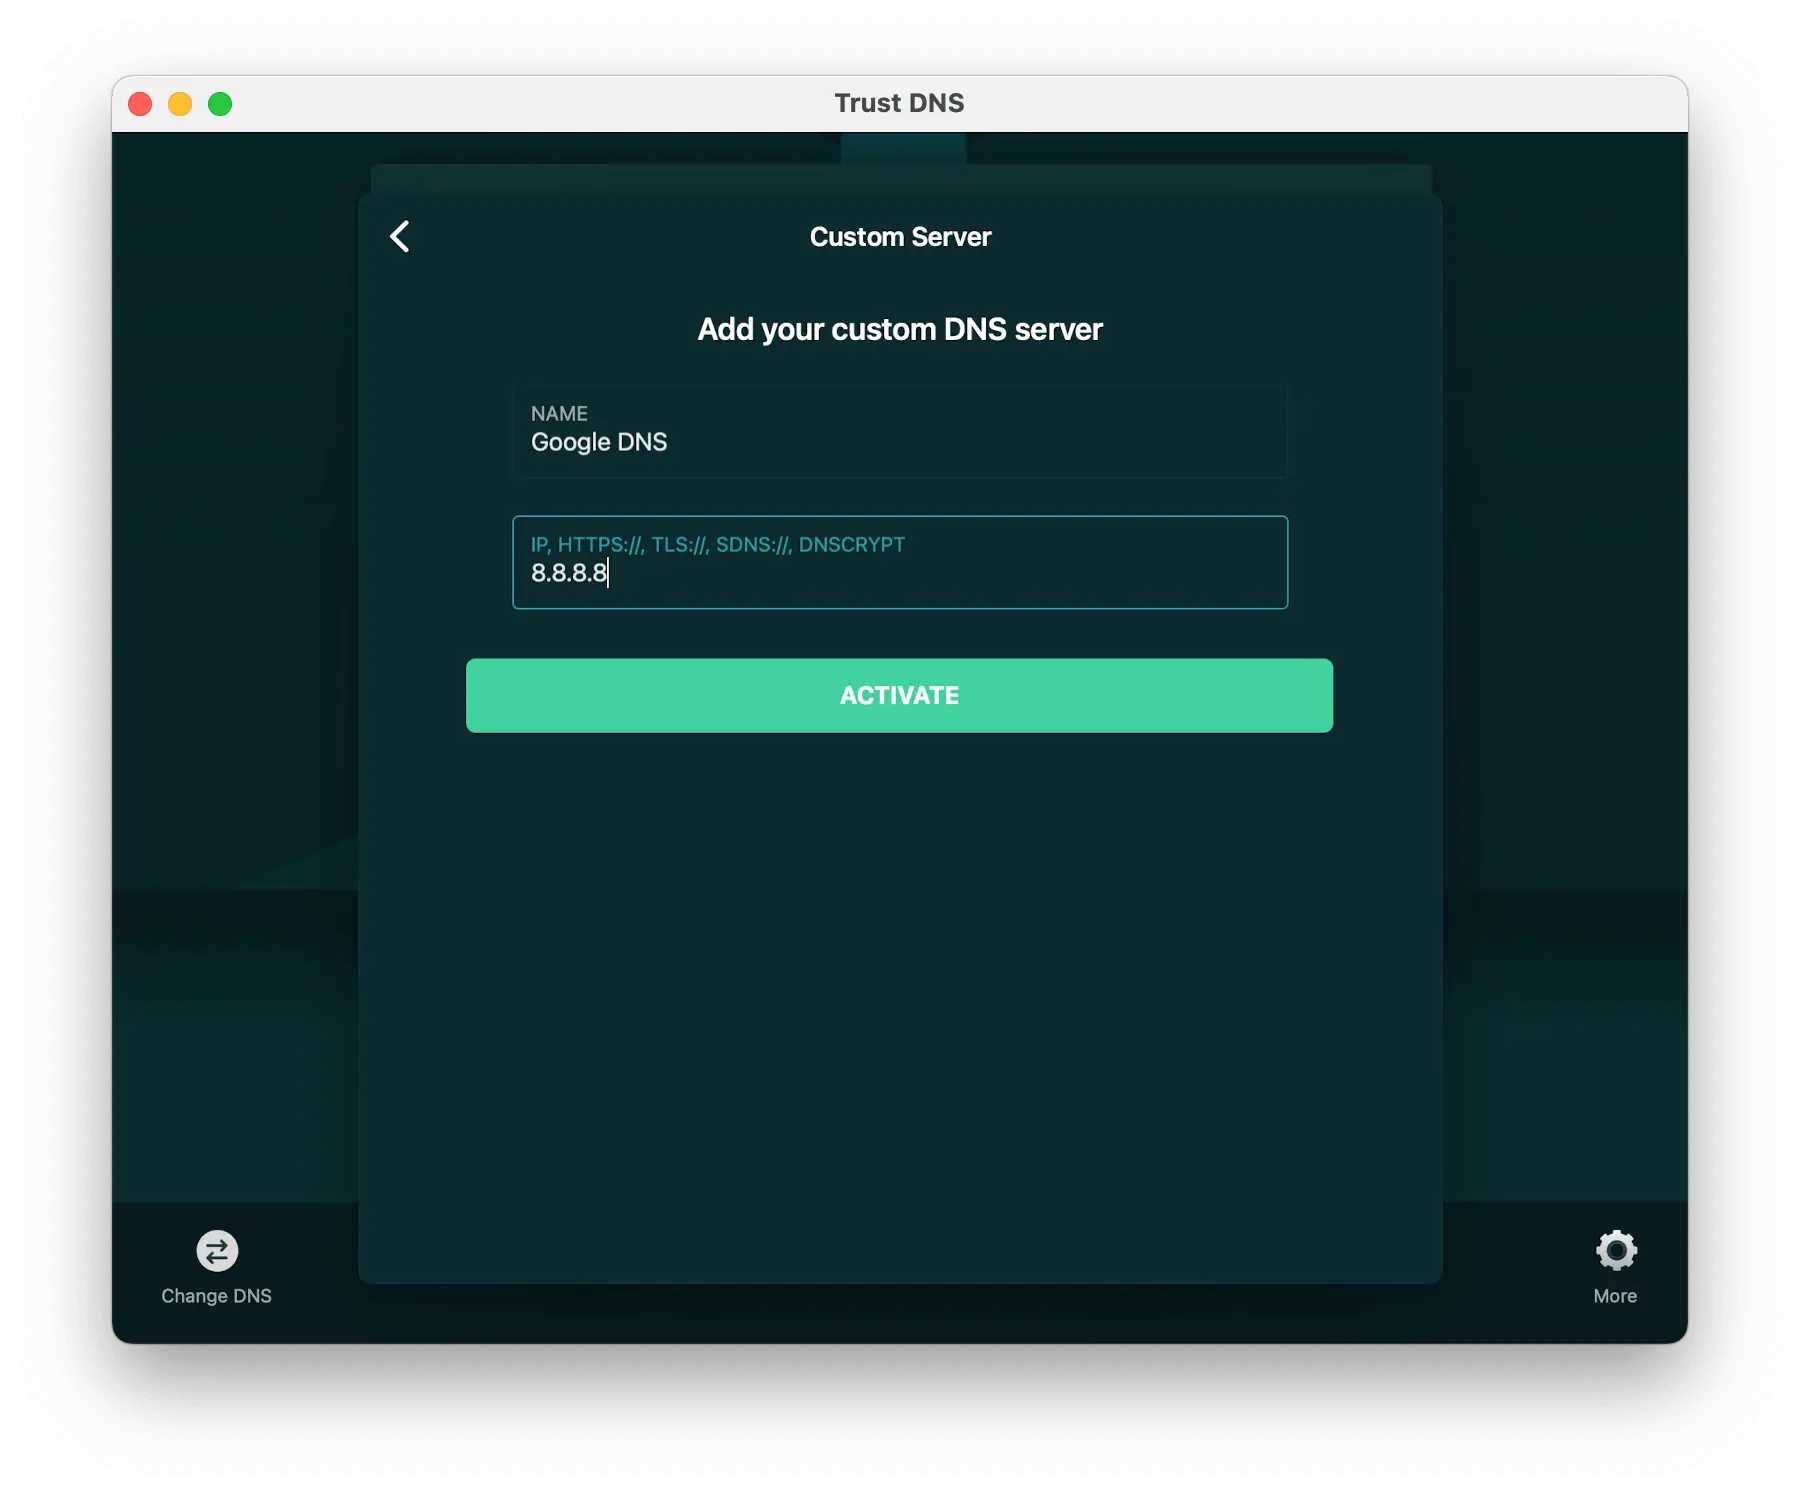
You can search on Mac App Store to find any third-party app. The search term can be something like "DNS Changer", "DNS Client", etc.
How to Verify If DNS Change is Active or Not
Generally, flushing DNS or restarting your device should be enough to make your DNS settings change effective. However, to be sure, you can do one more thing.
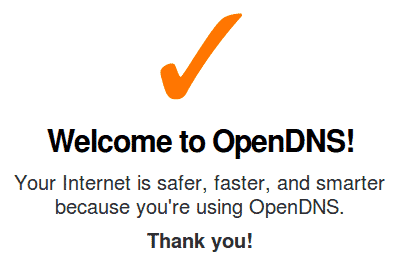
You can verify if the change has taken place or not. To do it, there are several ways. But, I suggest you set your DNS to the following addresses 208.67.222.222, 208.67.220.220. Then, from your Mac, visit https://www.opendns.com/welcome/. If it says "Welcome to OpenDNS" and shows you a success sign, it means DNS change is successful. If not, you can recheck your DNS settings and flush the DNS cache again.
This article explains how you can change DNS settings on your Macbook, iMac, Mac Pro, or any other macOS device. If you know any better methods, you can share them in the comment box.